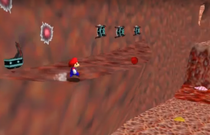
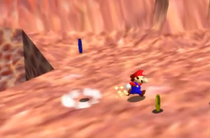
Big Beast's Belly is the eleventh (and probably the yuckiest) course of SM64 Last Impact . Get ready to dive right in and learn more than you probably ever wanted to know about the inside workings of a beastly stomach with severe acid reflux problems and a varied diet comprised of bunnies, frogs and sharks. This course relies on both exploration and skill. Mario must move very fast throughout most areas as they are filled with harmful acid.
Levels[]
Star 1: Bunny in the Belly[]
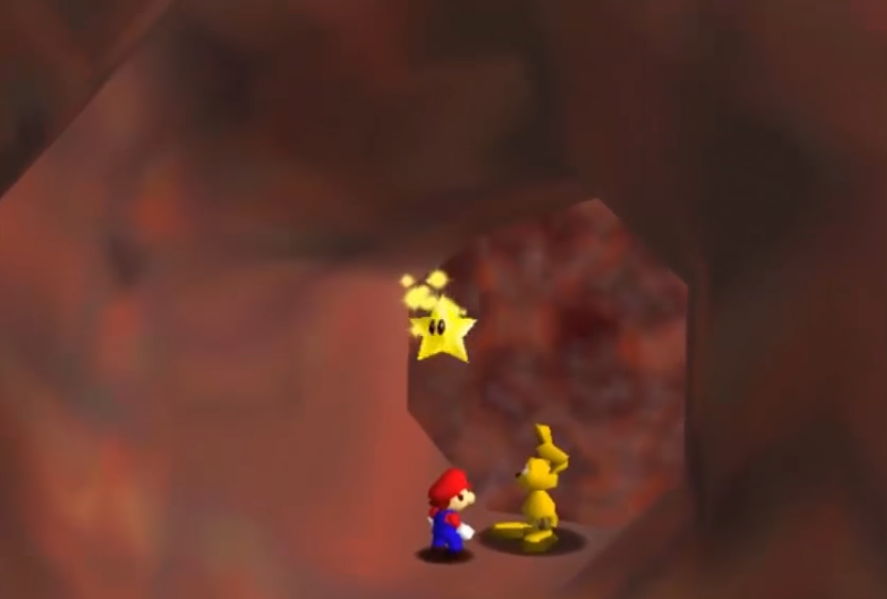
One of the easiest stars Mario can get after you finally figure out how this weird place works. While exploring, you may have figured out that the shells serve a double purpose. While the pearls they hold turn into beautiful blue coins, standing on them while they are opening up turns them into a catapult great for reaching high places. With this new knowledge in mind, after climbing down into the stomach, head right and stand on the first shell in the path to reach a tall ledge. There you will find a purple switch with an exclamation mark on it. Ground pound it and it will up the bunny's prison. Jump down and go to the other side of the chamber, run up the ramp and jump up to the bunny, for saving him, he'll reward you with a star.
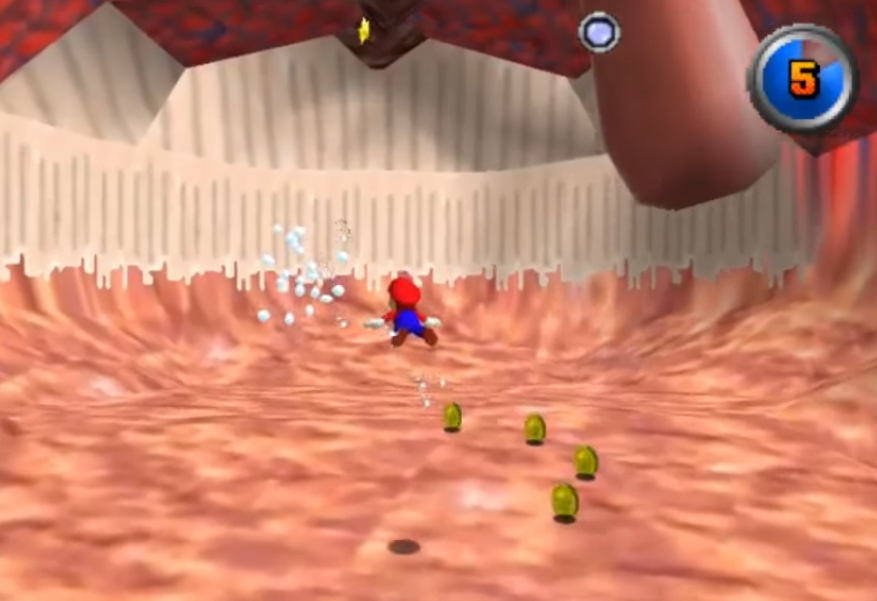
Star 2: Croaking Concert[]

Because any self-respecting beast has an orchestra in its stomach, Mario will have to become a conductor. Head straight across the stomach and up on the little wooden platform to enter the intestine. Simply being around here will decrease your health, so quickly run through and take the first path to the right and you will find the six croaking frog orchestra. Step into the lime light to begin. The rest is should be pretty clear, you have to replicate the melody by pressing the button each frog is associated with. Pressing the wrong button however, will make Mario lose one health and you'll have to try again. There are 3 rounds, and these are actually the same each time you play. If you're having trouble remembering what the order of buttons is, here's the correct buttons to press in order: Round 1 -Left, B, Right, Down, Up, Left Round 2 - A, B, Up, Down, Right, Left, Right Round 3 - Left, B, Left, Down, Right, Up, A
Star 3: Twist Up the Foodchain[]
While walking around the stomach you may have noticed a shark lying around. Go behind his tail and press B to grab him, then rapidly press A to drag him out, if you don't do this, he will attack you during the next phase. Make your way back up to the beginning of the level. If you haven't already, get rid of the Blooper so he doesn’t get in the way. Now do a somersault jump and dive at the uvula – the thing that looks like a punching bag just before the passage leading down. Nothing will happen at first, but if you do it again, acid water will briefly rise through half of the room and then go back down, if you don't have six health, get some coins, as it will be very difficult to get the star with any less. Now you'll have to be fast, somersault-jump-dive on the uvula a third time and the room will completely fill with acid, however, it will go down just as fast as before, so you have to quickly swim over to attack the uvula again, then swim very quickly over to the star, you will likely only have one or two health remaining, but as soon as you touch the star, you're safe, so don't worry too much.
Star 4: The Lonely Fisherman[]

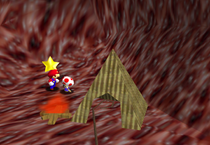
This one is very easy to get, simply jump down into the stomach, then proceed forward to the small tunnel, take the first path to the left, and then just follow the rope, and when you get to the end, talk to the fisherman and he'll give you a star. The only reason this would be hard is if you don't have enough health, it'll get drained, so you should go into this with six health, or at the very least four, but make sure to go fast.
Star 5: 8 Coins in Acid[]
All the coins are located in various places around the stomach, so make your way down, and get all eight of the red coins, in these locations:
- On the top of the ship

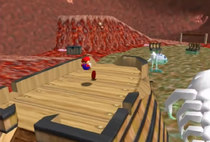
- On the pile of gold to the right of the ship
- On the head of the big skeleton
- On Gooper Blooper (from Super Mario Sunshine)
- In the treasure chest farthest from the entrace to the room
- Stand on the clam next to the shark that's further from the entrance
- Stand on the clam on the left side furthest from the entrance
- Stand on the clam on the left side closest to the entrance, this will bring you to the platform with the coin

Star 6: Feed the Golden Clam[]

Enter the level and go down into the stomach, go left and stand on the first clam in the path, kick three of the spider things off of the wall, and lead them down to the yellow clam, it can take a bit, but when one touches the golden clam, they'll get eaten by it, and although there are five of them, you only need to feed three of them to the clam, and it'll spit out a star.
Star 7: 100 Coins

For the 100 coin star, you should get the pearls in all of the clams, get blue coins from all of the bloopers, and get the eight red coins, then just collect all of the coins in the stomach, you shouldn't have to go any further into the tubes than the first couple puddles, the rest of the coins can be found in the stomach.
Enemies[]
- Blooper - jump kick to kill - yields blue coin
Trivia[]
- On the Last Impact Discord, Kaze confirmed that this is the full body art of the Beast in which Big Beasts Belly takes place. [1]
- This level appears to be influenced off of Jabu-Jabu's Belly from Legend of Zelda: Ocarina of Time.
- Interestingly enough, the music track for this level was the same as Jabu-Jabu's belly in the trailer, but not the music track for the final game.
- ↑ http://i.imgur.com/qvWzVd3.png (screenshot from the Last Impact Discord)